
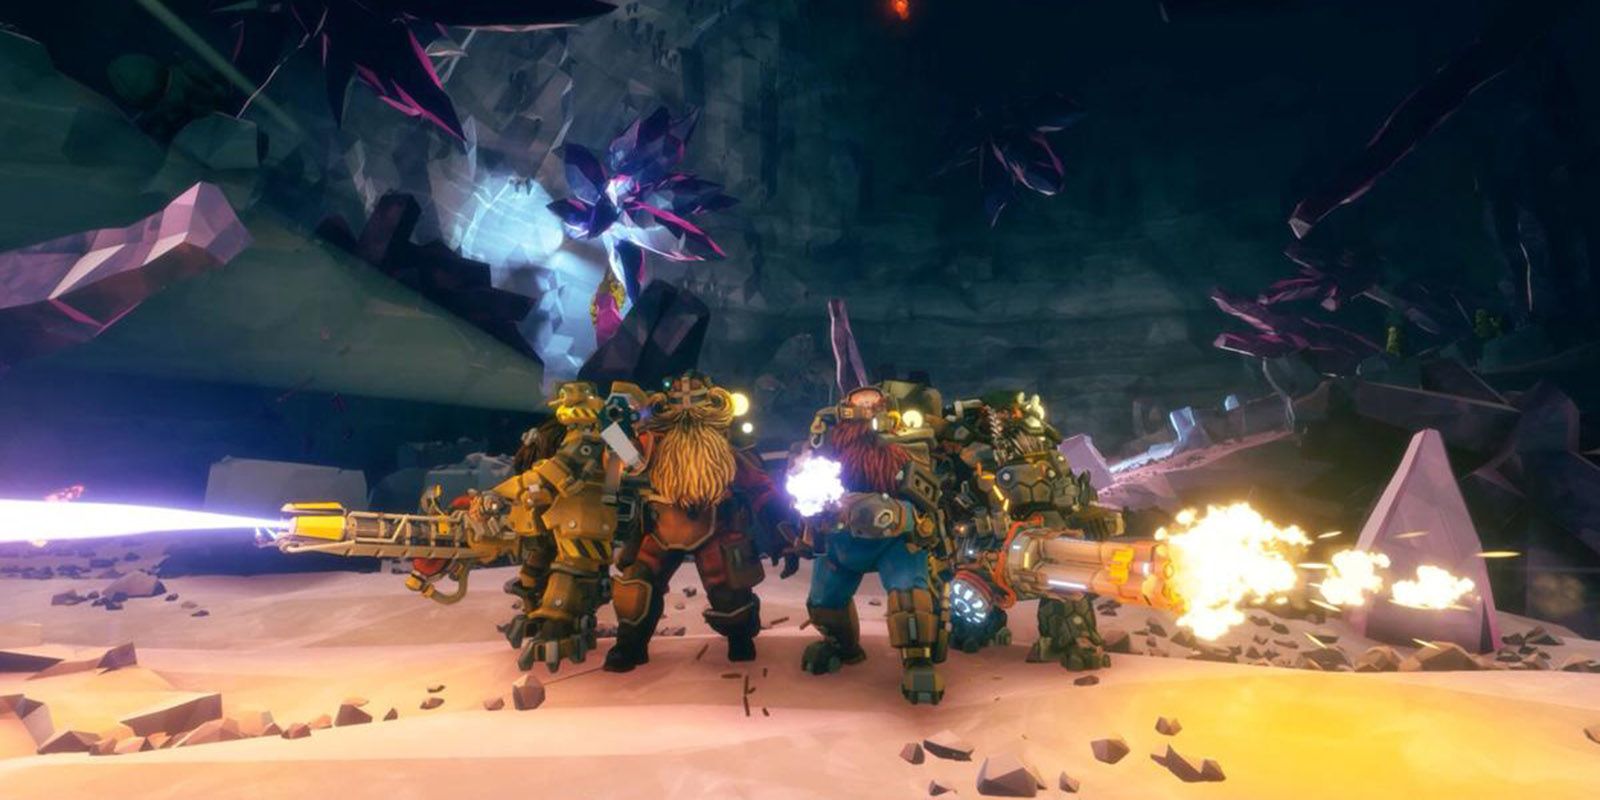
Deep Rock Galactic: 10 Pro Tips For Playing The Driller

The Driller is a unique class in Deep Rock Galactic that’s surprisingly less about mining than one might think. Their useful Drill can do just about everything except mine materials. As a result many players become confused about their role as Driller in this multiplayer game and how to best maximize their efforts.
There are a number of tips players can use to improve the Driller’s efforts both in and out of combat. With the right perspective the Driller can be an invaluable member to the team and help everyone accomplish what needs to be done faster and easier than normally possible.
10 Save Time
The number one perk of the Driller is that they can use their Drill to quickly bypass entire areas. The Driller can pick a wall, start tunneling, and before the team knows it they’ve reached the objective.
Granted there is a fuel cost and some of the maps can be massive, but if the Gunner is out of ziplines and the Engineer needs to conserve Platforms it can help a lot. Especially when the objective is on the other side of a wall.
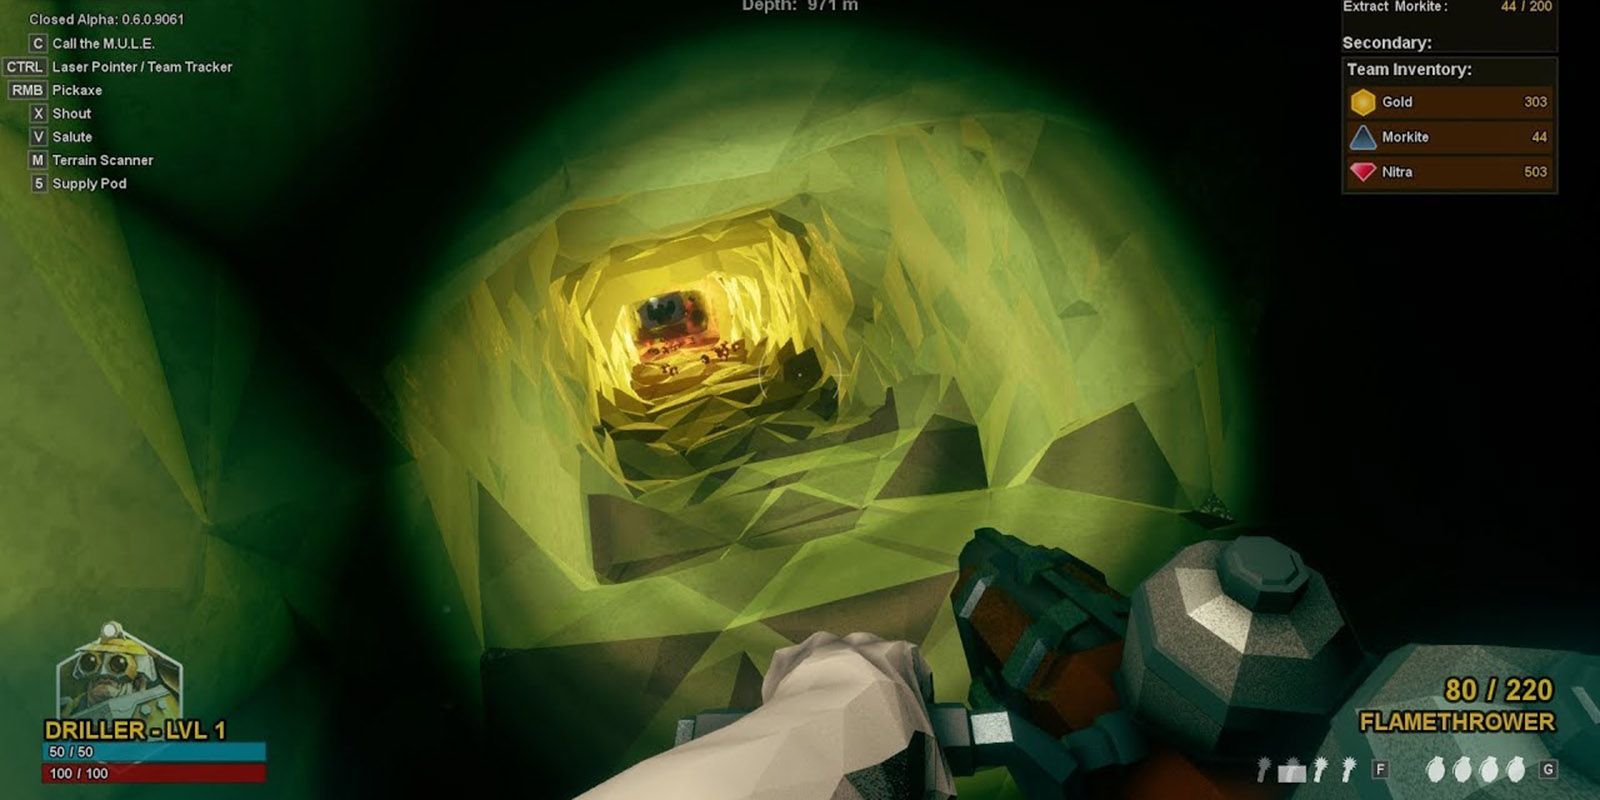
9 Dig To Gold
Upon entering a room the Driller should be looking for ways to increase mining efficiency. This means identifying large clusters of minerals that aren’t easy reached and making them accessible with a dug out staircase.
It’s important to note that one off mineral nodes can be taken care of by the Scout. But if the team is waiting around for one Scout to dig a large chunk of minerals than the Driller should carve a path to it so everyone can mine.
8 Emergency Exiting
A very useful tactic is to have a healthy reserve of fuel for the end of the mission. When the team needs to make a break for the exit the Driller can cut a new path out.
This is handy for bypassing swarms, saving time, and when the team’s ammo reserves are low. The Driller simply picks a wall and starts cutting while their teammates cover their six. The player should just be careful with random drops and make sure they’re heading the right direction.
7 Hunker Down
A risky last resort the Driller can use to survive a swarm is to burrow into the wall and blast anything that tries creeping inside. It helps with ammo conservation and with a shield and some well placed turrets is practically impenetrable.
Of course, this also means the team will be unable to move around and avoid the bugs' attacks. As often as this trick works it can just as easily create a kill box for the bugs. It’s a good idea to have some fuel in reserve to dig away if this tactic isn’t working.
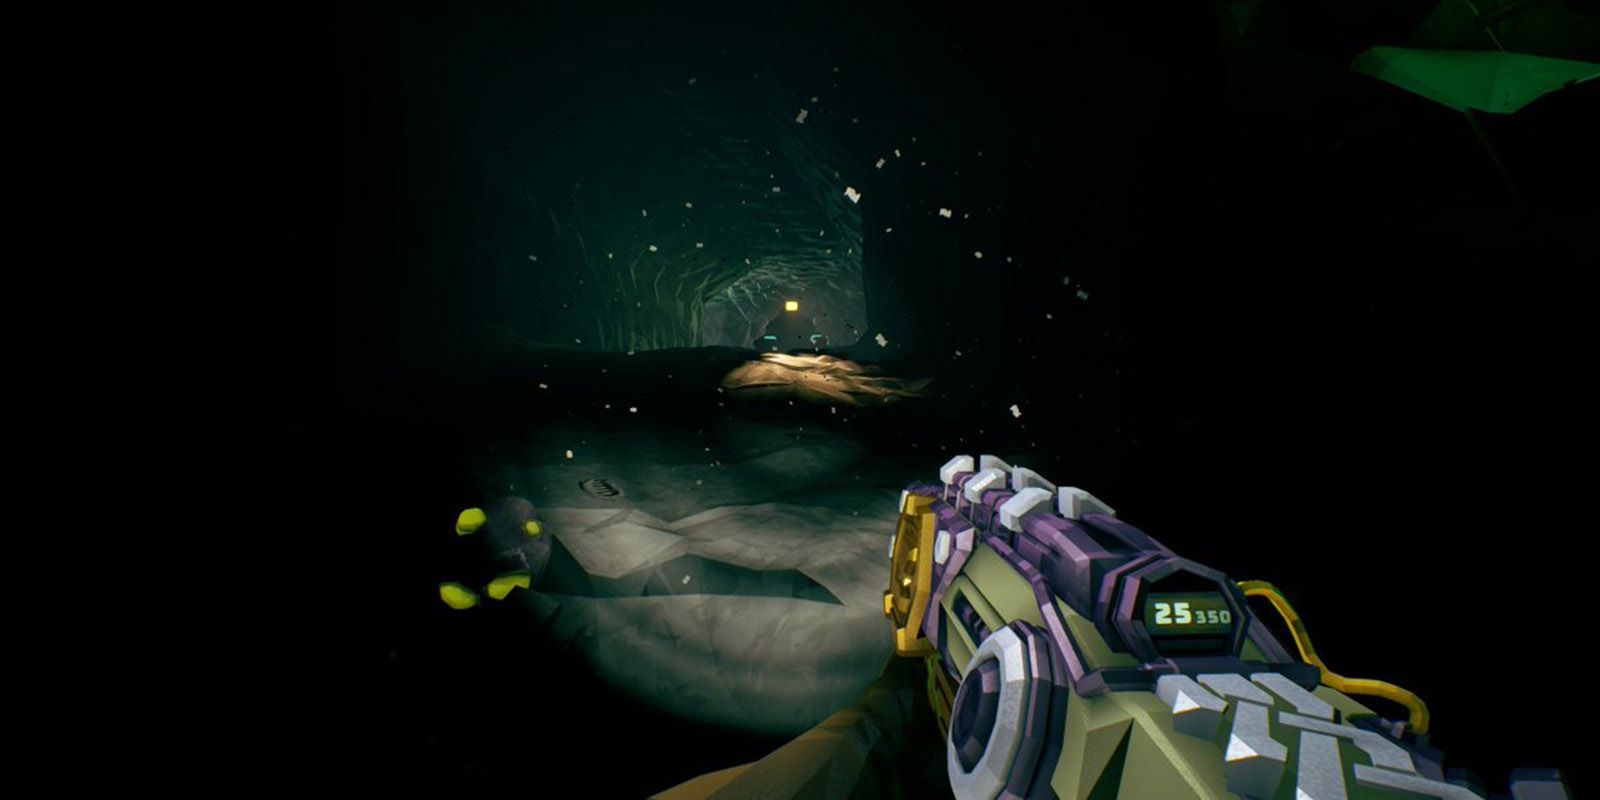
6 Burn Their Faces Off
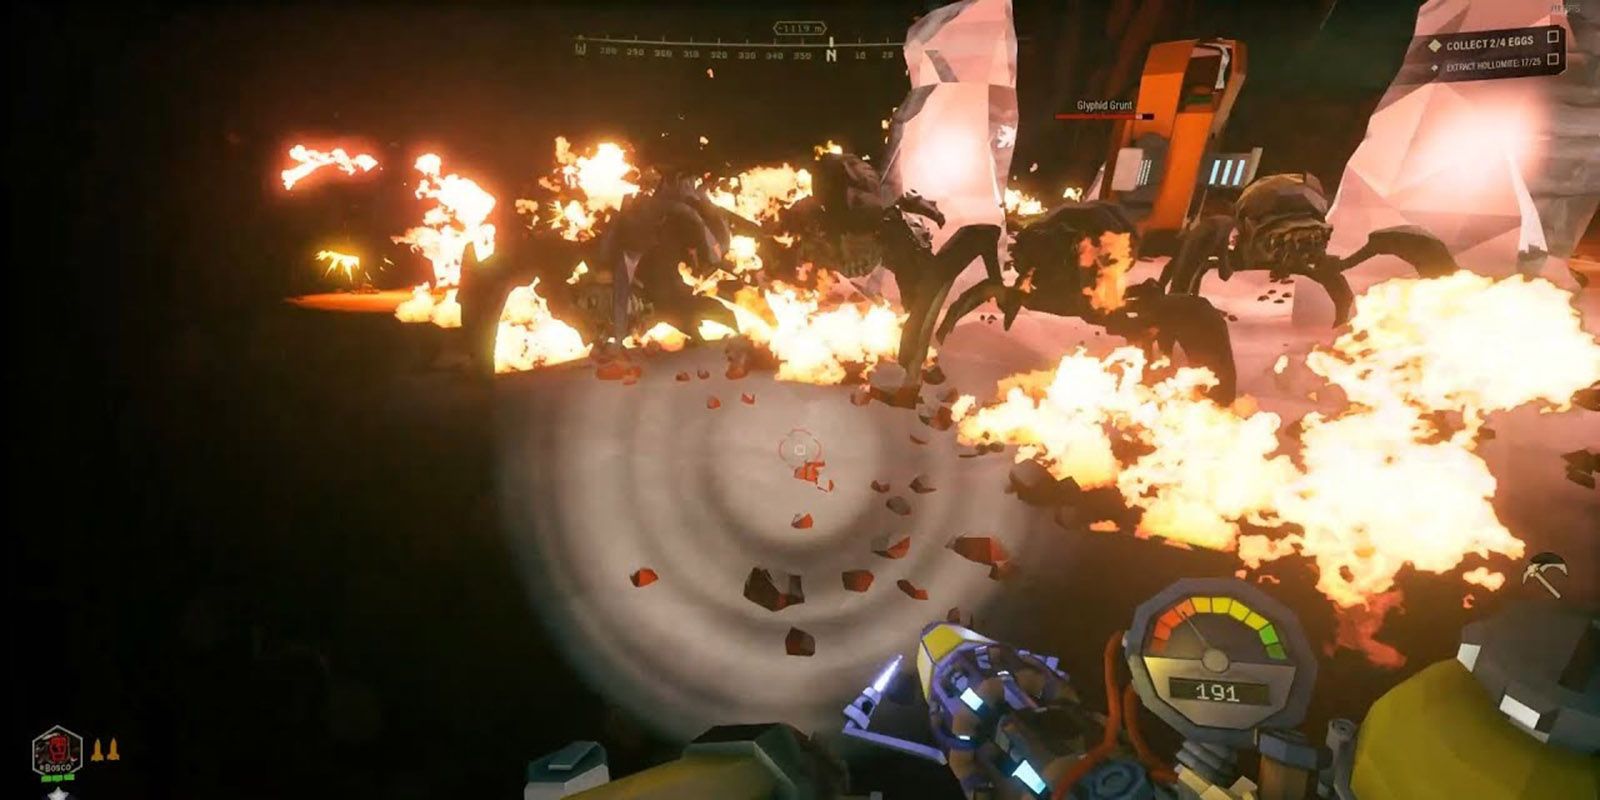
When using the Flamethrower it’s important to aim it at the enemies’ faces when releasing the flames. This allows the flames to deal direct damage to the enemy and causes the flames to stick to the ground under their feet.
If all goes well then the enemy should also become inflamed. This leads to the bugs receiving three sources of fire damage and maximizes ammo efficiency. It’s also a great way to soften up a swarm so the Engineer’s turrets can mow them down.
5 Share The Cold
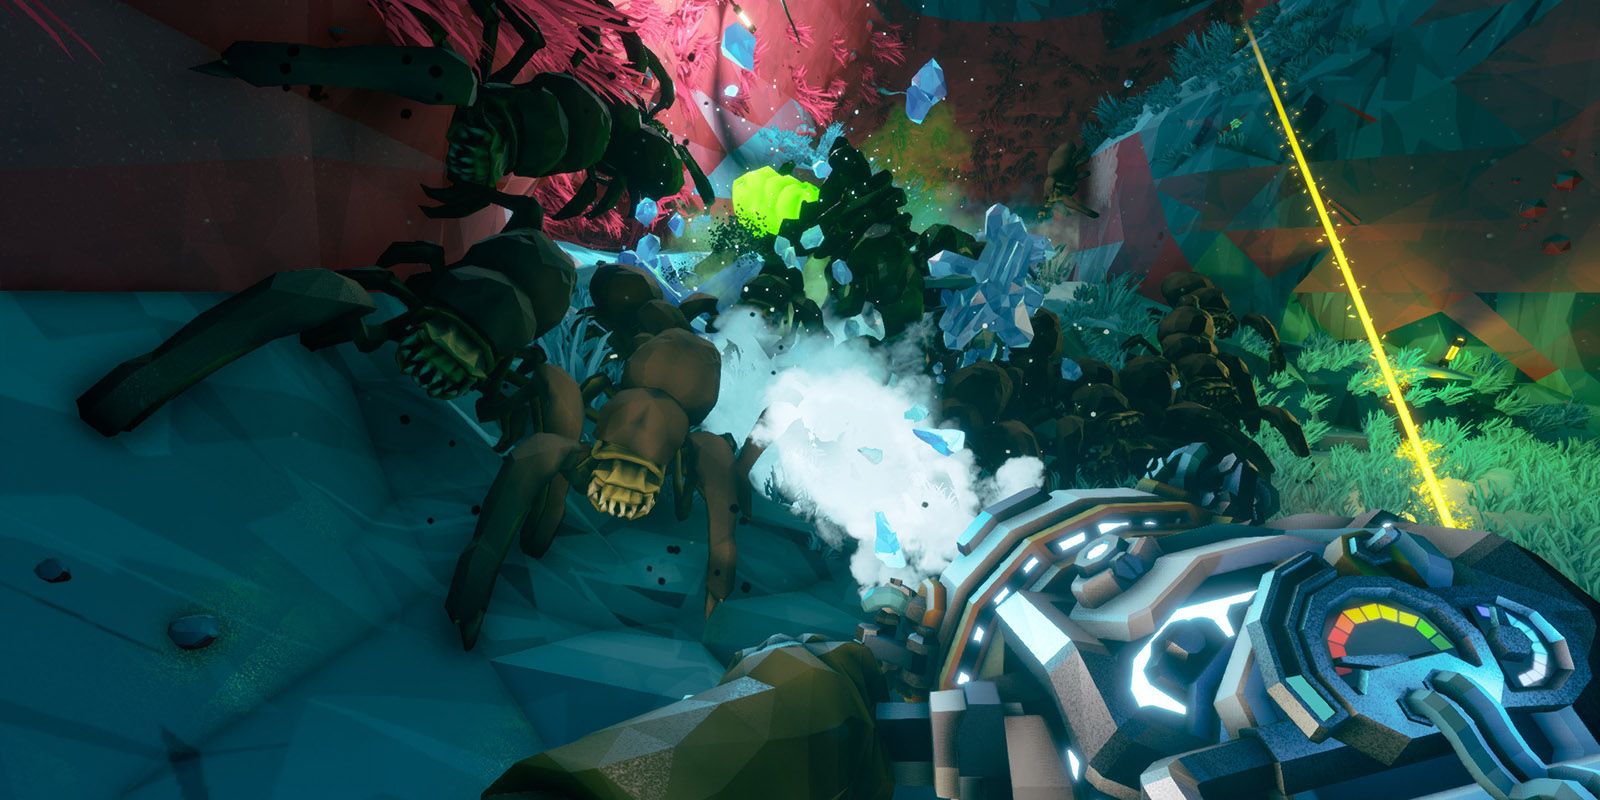
The Cryo Cannon can also be an effective tool for controlling the crowd and making it easier for teammates to survive and kill everything in sight. But only if the Cryo Cannon is used effectively.
It’s very tempting to continually hose down a nasty enemy to keep them frozen until a teammate can come along and deal with them. But it’s far more effective, and safer, to move on once an enemy is frozen and try to stop the whole swarm in their tracks.
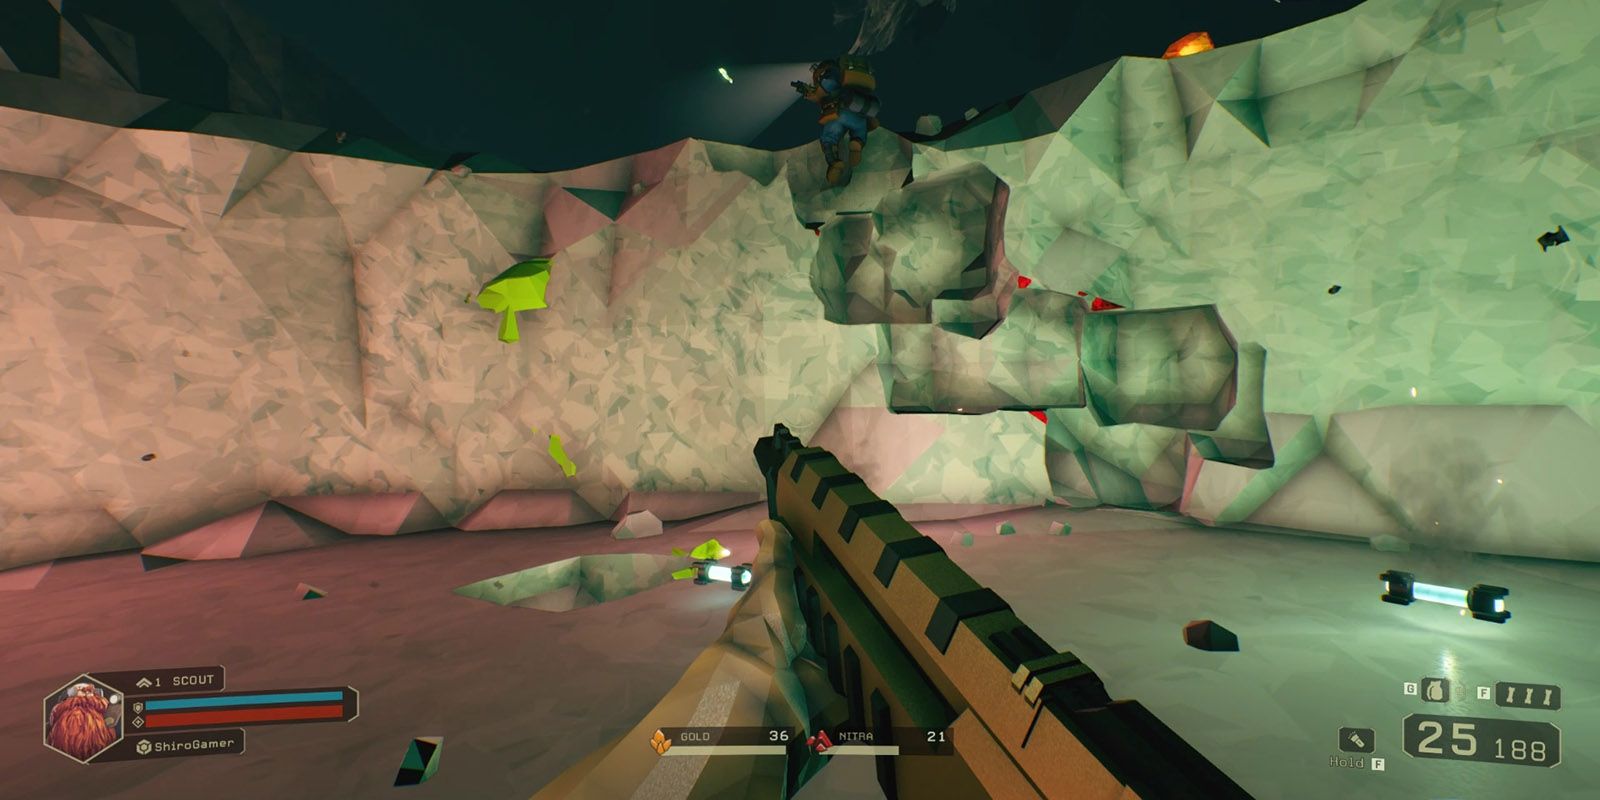
4 Drills Are For Digging
The Drill is a useful tool in that it has a lot of adaptability depending on the situation. In certain circumstances it can function as a makeshift weapon, but the player should avoid doing this whenever possible.
While it can be fun to kill bugs with the Drill it’s a huge waste of fuel when ammo would be more efficient. It would be like clubbing someone over the head with a medkit, sure it works but that is the least effective use for the item. The Drill should be used for digging and guns for killing.
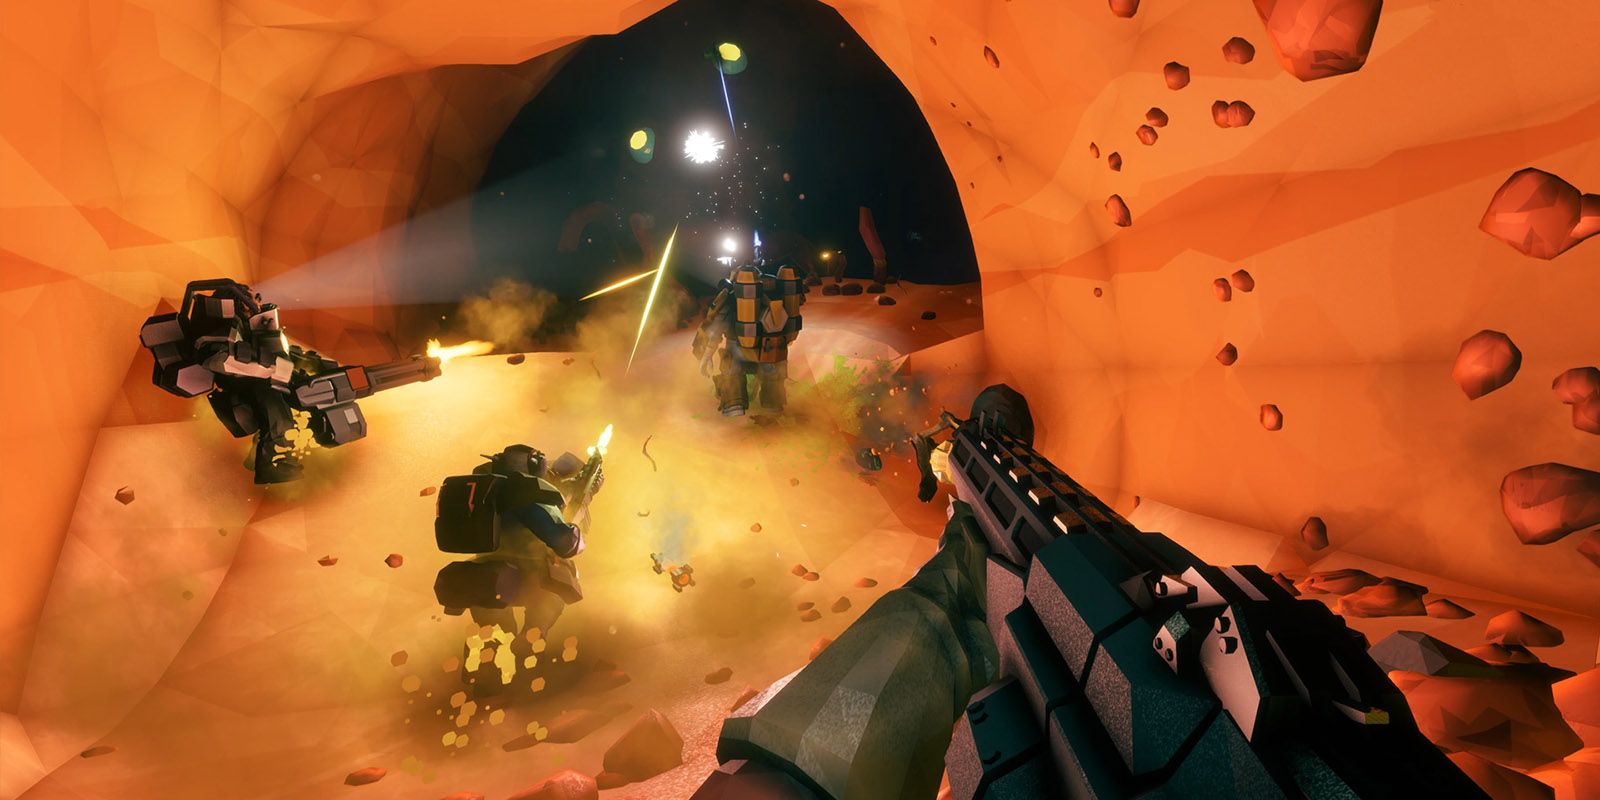
3 Kite For C4
C4 should be the Driller’s go-to when it comes time to do some serious damage. If the Turrets are distracted and the Gunner is getting overwhelmed the Driller can obliterate tough foes and swarms alike with explosives.
The best tactic is to kite the enemy into a cluster before dropping and detonating the C4. The C4 deals equal damage to everything in it’s radius which is often enough to kill most foes. Getting the most bugs into that kill zone as possible is vital.
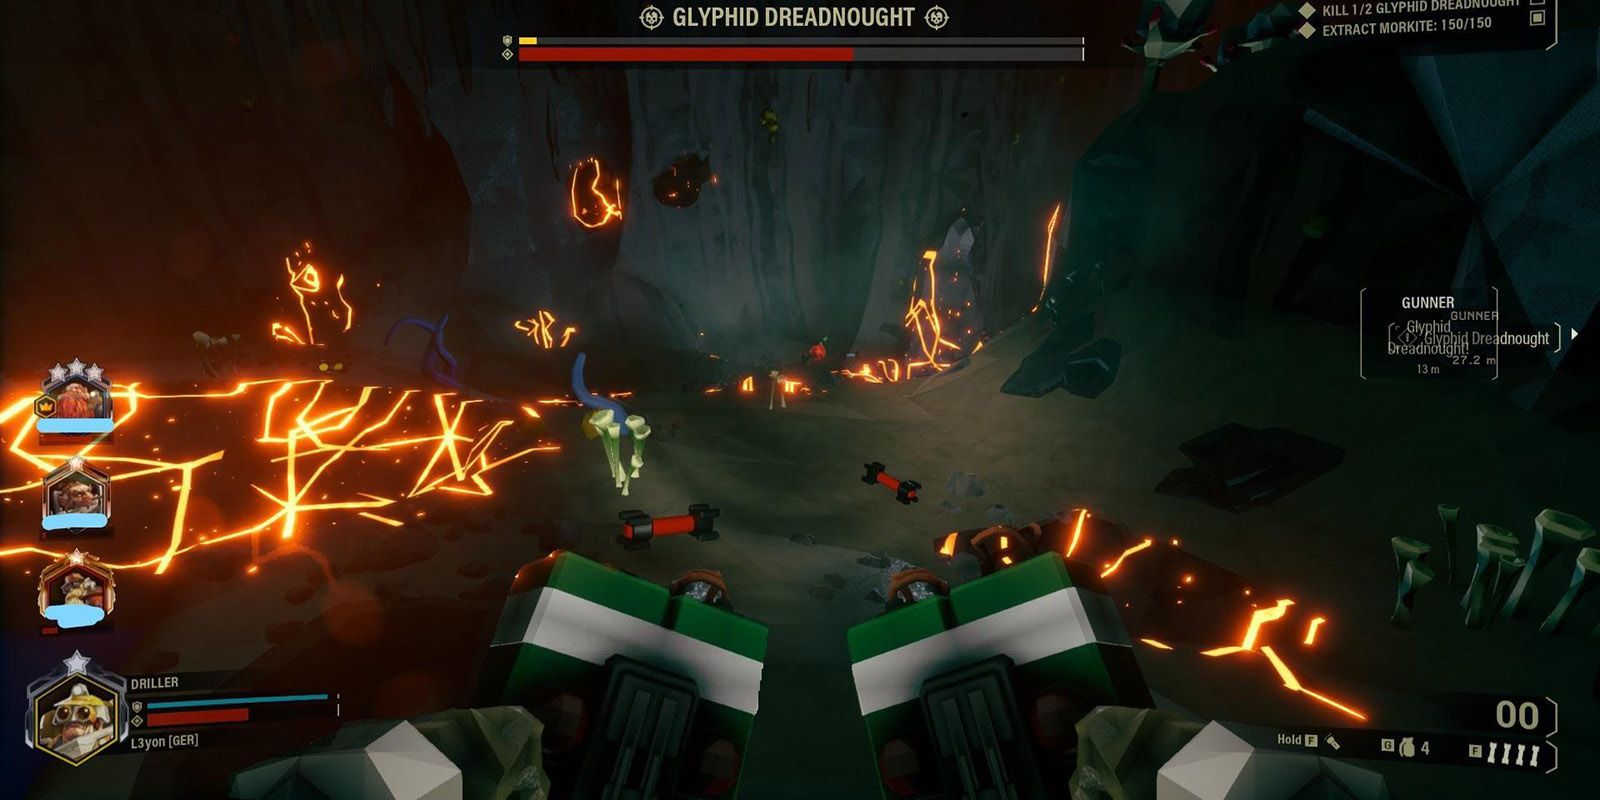
2 Booby Trap Cocoons
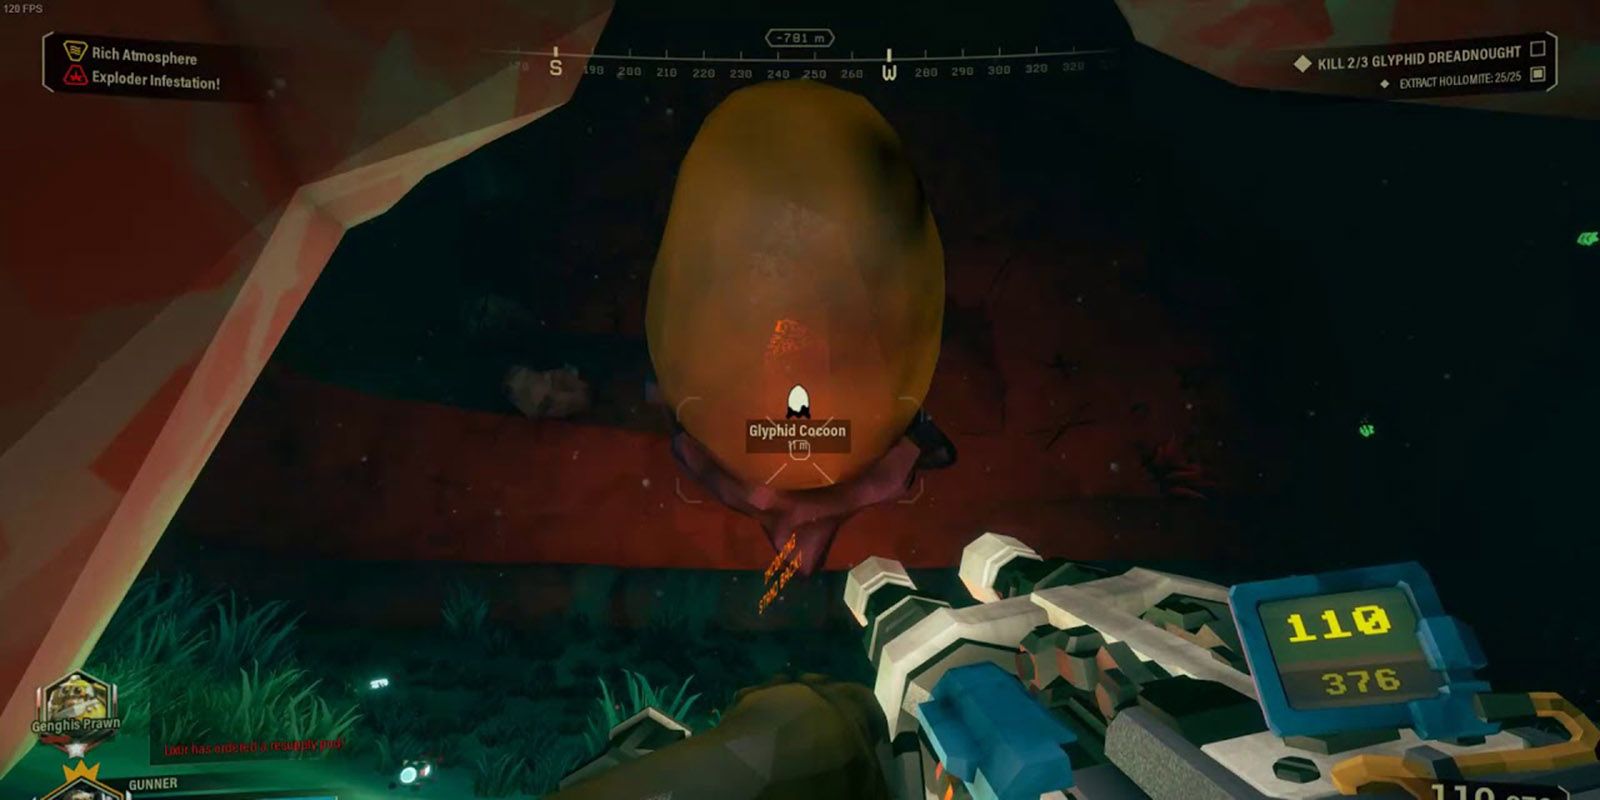
On Elimination missions the player needs to destroy two to three Glyphid Dreadnoughts that lie slumbering in their cocoons. It’s a tough combat-based mission in this multiplayer game that can drain ammo supplies and can be tough to survive.
This is where the Driller shines as they can plant their C4 around the Cocoons in anticipation of the fight. With some careful timing the player can cause the bugs to hatch and detonate the C4 just as they’re appearing for massive damage.
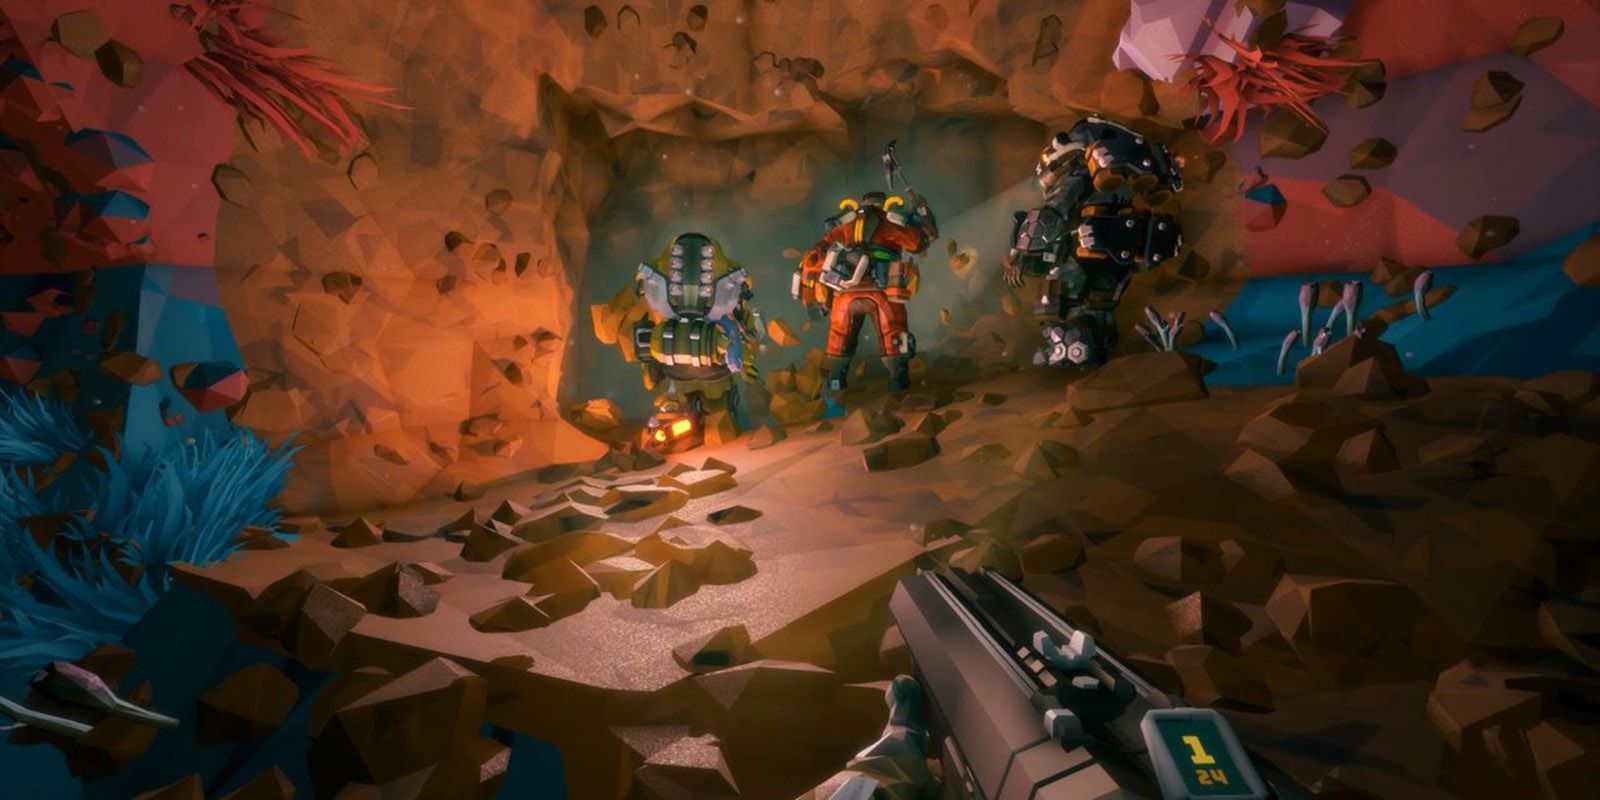
1 Jack Of All Trades
While the Driller is all about efficiency it’s also the closest thing to a jack of all trades in this multiplayer game. Drillers are really good about stepping in when particular roles need help with something.
They can freeze enemies to help the Gunner knock off their armor, they can help the Engineer thin the her with the Flamethrower, they can build staircases to help a Scout mine tricky to reach minerals, and they can dig paths when others run out of ziplines and platforms. The Driller is all about helping, maximizing efficiency, and filling in if someone goes down or stinks at their job.
Post a Comment