
How to set up a dedicated or local server for Valheim multiplayer co-op
Valheim is one of the most exciting new survival games in years, giving you the full spectrum of Viking life: Mead, boats, swords, and obsessive attention to domestic details. If you want to go a-viking with up to 10 people Valheim's the best thing for it, here's how to set up a Valheim dedicated server or how to host Valheim multiplayer yourself locally. Your multiplayer options might be confusing at first, especially if you need to transfer a world from one type of multiplayer service to another.
Valheim can have a player host the game locally from their computer, storing the game world as their own personal file and essentially just inviting others into their game world for drop-in co-op. It's good for a pair or trio who only play together.
A Valheim dedicated server is another option, setting up a separate client to host the server for others and yourself, even if you're not online. A dedicated server for Valheim is the best option if your Viking crew can't always meet up at the same time to play or if there are a lot of you. Some people prefer to rent a server from a hosting provider, so go ahead and read the guide to decide if you want to bother or are equipped to host one yourself.
To lay down some basics, this is how multiplayer in Valheim works: You can take any character and their inventory from one game to another. That carries over their skill progress from place to place, but be aware that any equipment you lose in one world will still be lost in another if you log out before retrieving it or if a griefer prevents you from retrieving it. Valheim developers Iron Gate AB suggest having a separate character for single and multiplayer, and those who are abundantly cautious should probably do that.
For each new player that enters the game, the enemies get harder. When a player leaves, they get easier. Some players report more generous drop rates on resources when playing solo, though I couldn't confirm that through a bit of light testing.
Valheim local hosting

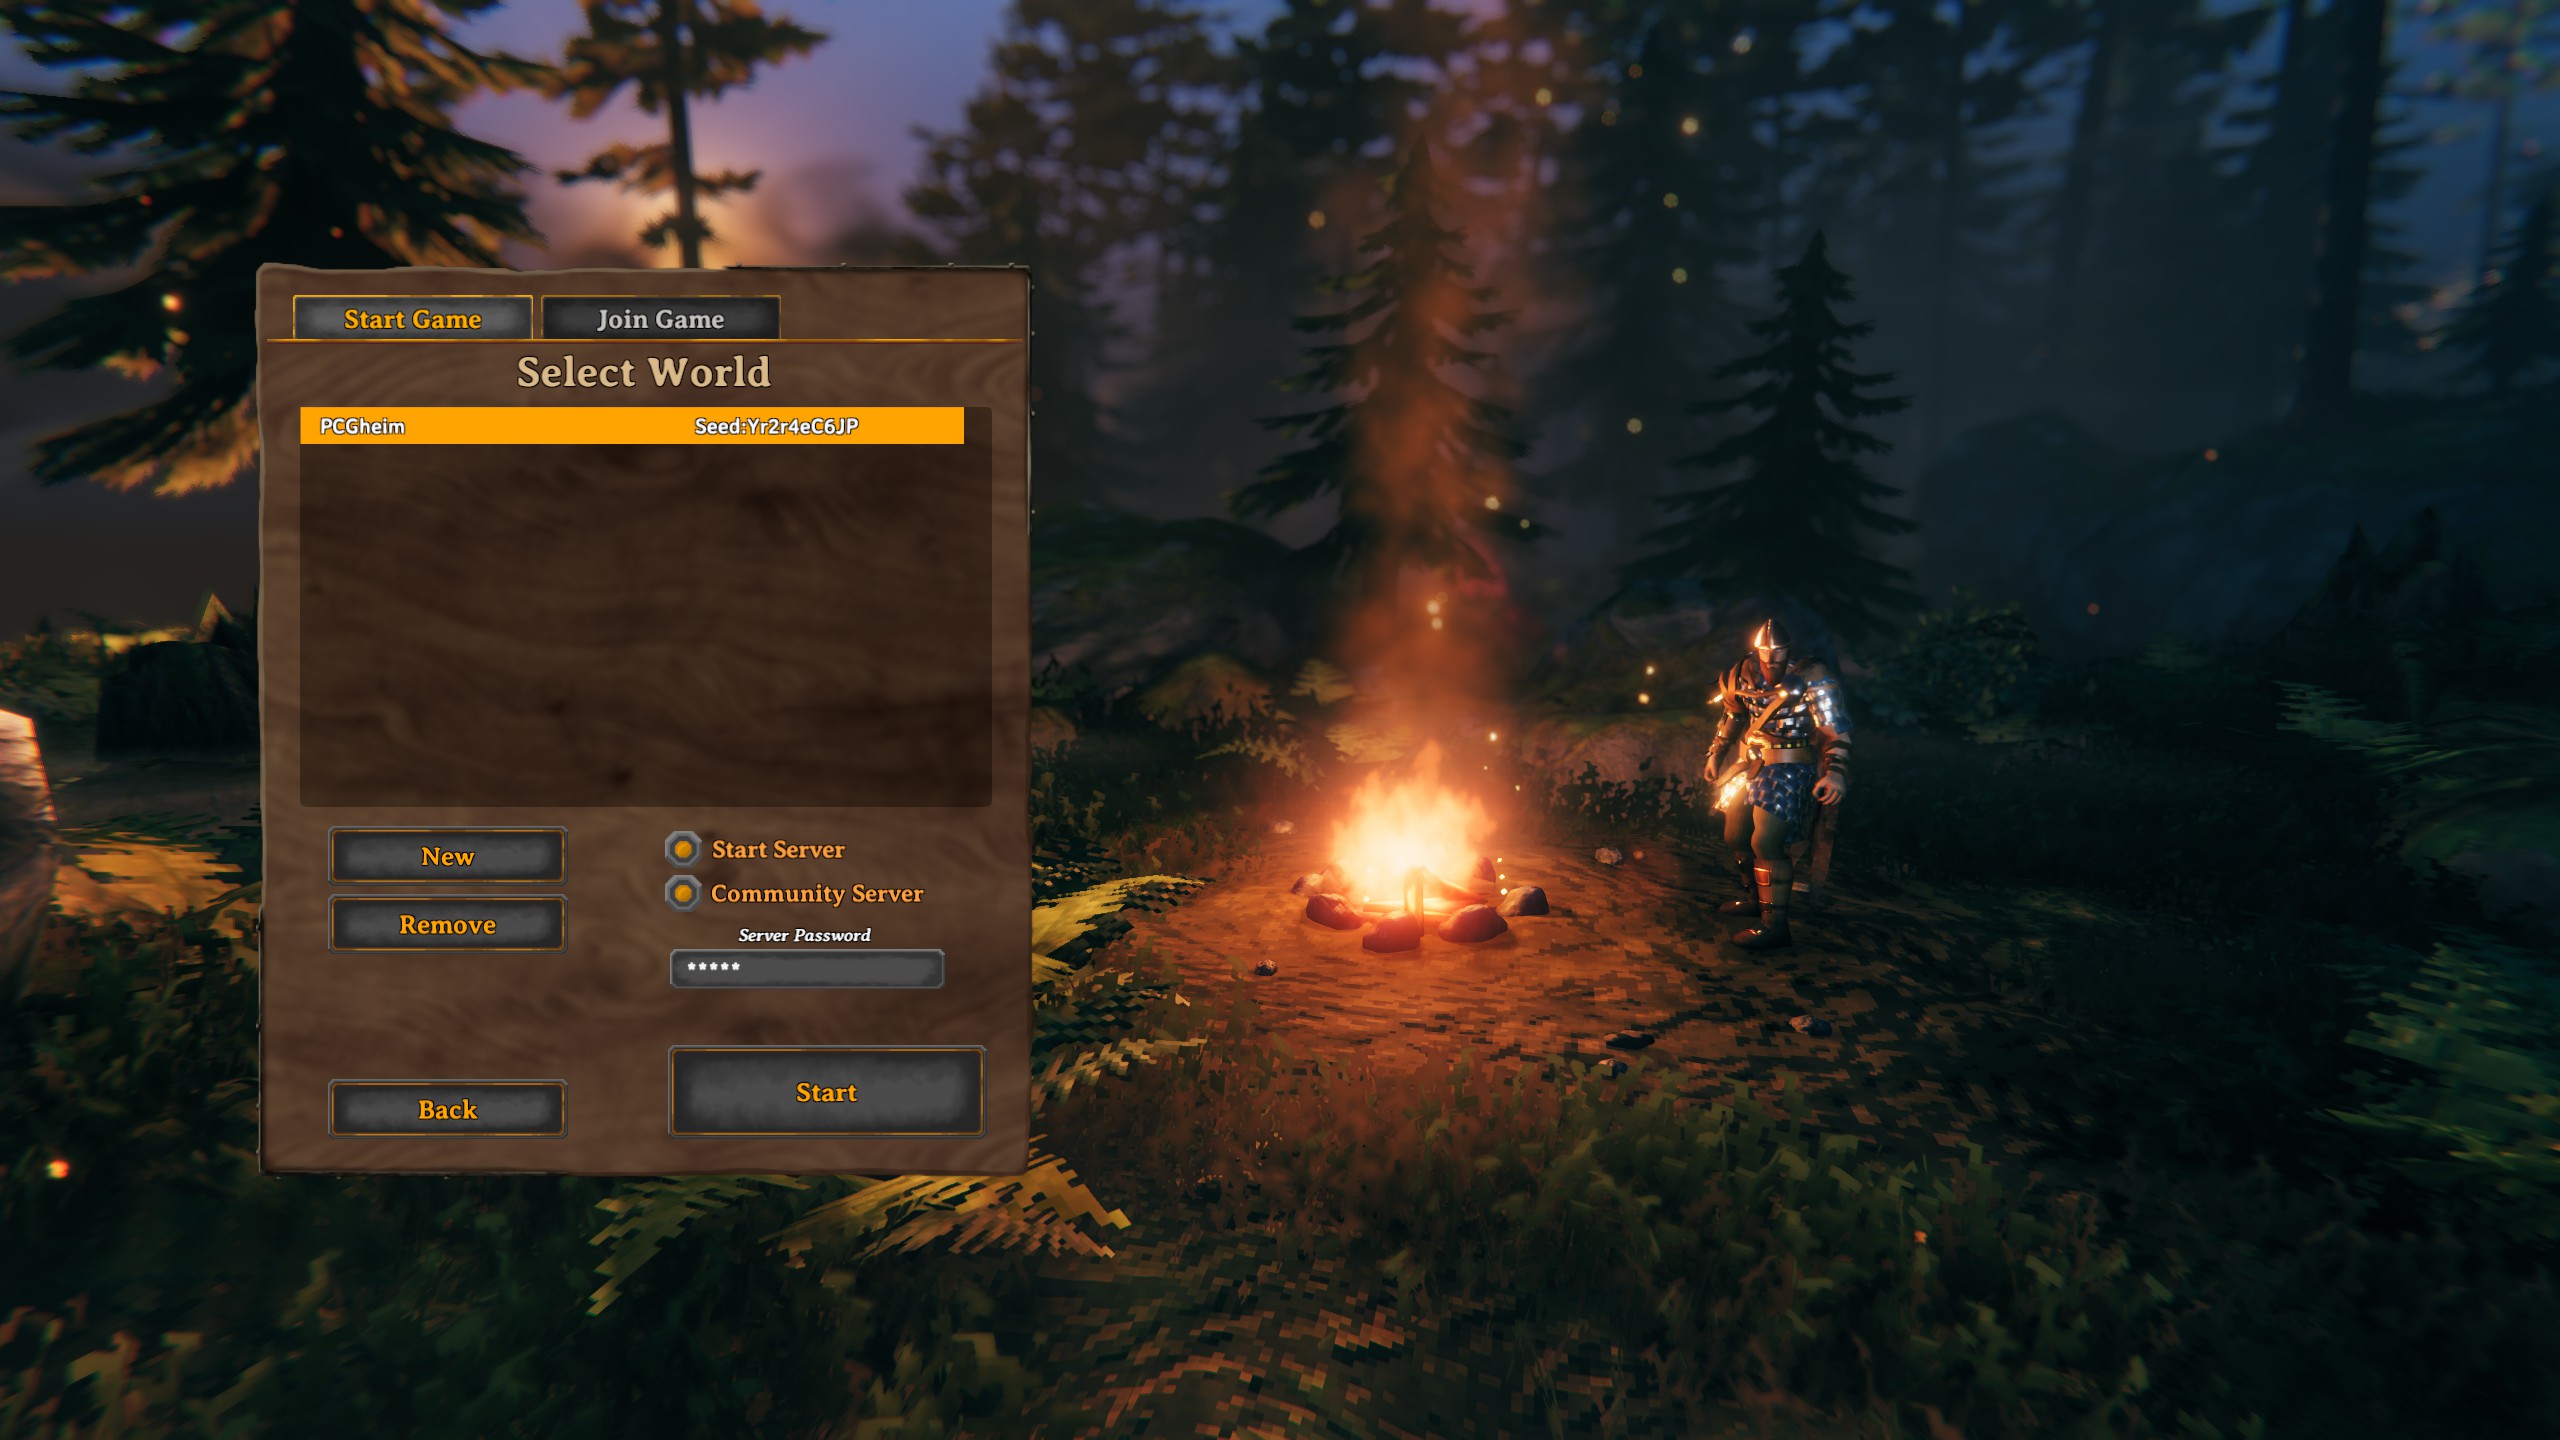
If you're just playing multiplayer Valheim with one or two other players, and you'll never play apart, a dedicated server is probably overkill. Just have the person with the best internet connection and beefiest gaming rig host. Here's how to local host in Valheim:
Others can now search for your server under Join Game and enter the password to connect.
How to join a Valheim server
The second tab on the menu after character selection is Join Game. That'll let you see either servers hosted by your Steam friends, or search for Community Servers and join that way. Either way, you'll need a password.
Setting up a Valheim dedicated server
You can put up a Valheim dedicated server on any PC, your call. Some people will put it on a secondary computer, some on the same machine they're going to play from. Whether that's a good idea is up to you, how good your internet connection is, and how powerful your gaming PC is. Valheim isn't too demanding a game, and neither is running a server, but combined they'll put a strain on most machines—and on the connection quality for other players.
In my experience, a machine with a 15-year-old processor stuttered a lot with three players connected, but became pretty unplayable with more. A machine with an Intel i7 from 2013 did okay on 100mbps down, 10mbps up internet with five players connected, with occasional lag or stuttering—so an old spare PC or your media build might just be ideal for the job.
To get this set up, you'll need to know how to do port forwarding and how to find the server machine's IP, which means you'll likely need administrator access to your router.
How to set up a Valheim dedicated server
1. Pick the PC it's going to be on and install or open Steam.
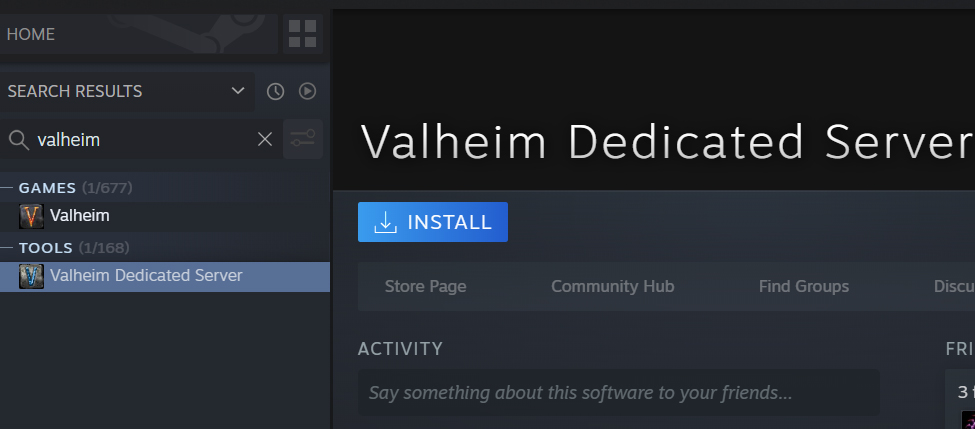
2. Toggle on "tools" in the Steam library search and look for "Valheim," you should see Valheim Dedicated Server. Install Valheim and install Valheim Dedicated Server. You won't run it from Steam, though—you need Steam to play Valheim itself either on another PC or on this one.
3. Go to the folder you installed the Valheim Dedicated Server to.
4. Now you need to either create a world to use, or transfer the world you were using prior to this to the server if it's on another PC. If you're hosting from the same PC you've been playing on, skip this step. Navigate to your Windows Users folder: C:\Users\YOURNAME\AppData\LocalLow\IronGate\Valheim\worlds. Transfer the files from this folder to the same folder on your server PC.
5. Now you need to edit the server startup script file, which is in the folder you installed the Valheim Dedicated Server to. The default is C:\Program Files (x86)\Steam\steamapps\common\Valheim Dedicated Server. In there you'll go to a batch file called "start_headless_server." Right click on that file and edit it.
6. The line in there now says something like "start valheim_server -nographics -batchmode -name X -port 2456 -world X -password X -public 1", except the X is your information you've already put in.
7. You'll need to change it so that the X after name is the server name you want—which can't be the name of your world. The X after world is the name of your world save—which can't be the same as your server. The password is… well, whatever you want the password to be, but it can't include the world or server names. (Again, you must have a password.)
8. If you want the server to show up in the community servers list, leave the numeral after public as 1. If not, change it to 0.
9. Save that. Now make a backup of the start_headless_server file, because when the game updates it'll wipe that file clean and you'll need to replace it. Now you can quit that editor.
10. You now have to open the ports on your server PC to allow connection. Go to your router software, opening ports 2456-2458 TCP/UDP on the PC that's running the server. The Host Port should be 2456. If there's a firewall on the server PC, you'll have to open those ports on the firewall as well.
11. Now start the server by double clicking "start_headless_server." That should open two windows, one with the server logs and one that you select and press any key to stop the server if you want to stop it. (Why would you stop the server? Updates. Otherwise don't do that! The whole reason to run a dedicated server is that it's always around.)
12. Voila! Players can now join your server. It can sometimes take 10 to 15 minutes for the Community Server list to update once a server goes live. If it never shows up, that's probably because you included the name of the game world in the server name or password… or because of a bug. Try the next steps if that happens.
13. If you change the public numeral to 0, people will have to join using the Steam server browser, found under View > Servers on the Steam client in the Favorites tab, then using the "Add A Server" button in the bottom right.
14. The IP address for your server is your server PC's external IP with the affix :2457 on the end for the correct port—like XXX.XXX.X:2457.
Congratulations! You're all set up for Valheim multiplayer. Now, go forth and build. While the friend you sent this article to sets up the server, can I suggest reading something like our guide to getting started in Valheim? Perhaps a tasteful tour of Viking homes?
Post a Comment