Outriders: The Best Build For The Vanquisher Devastator
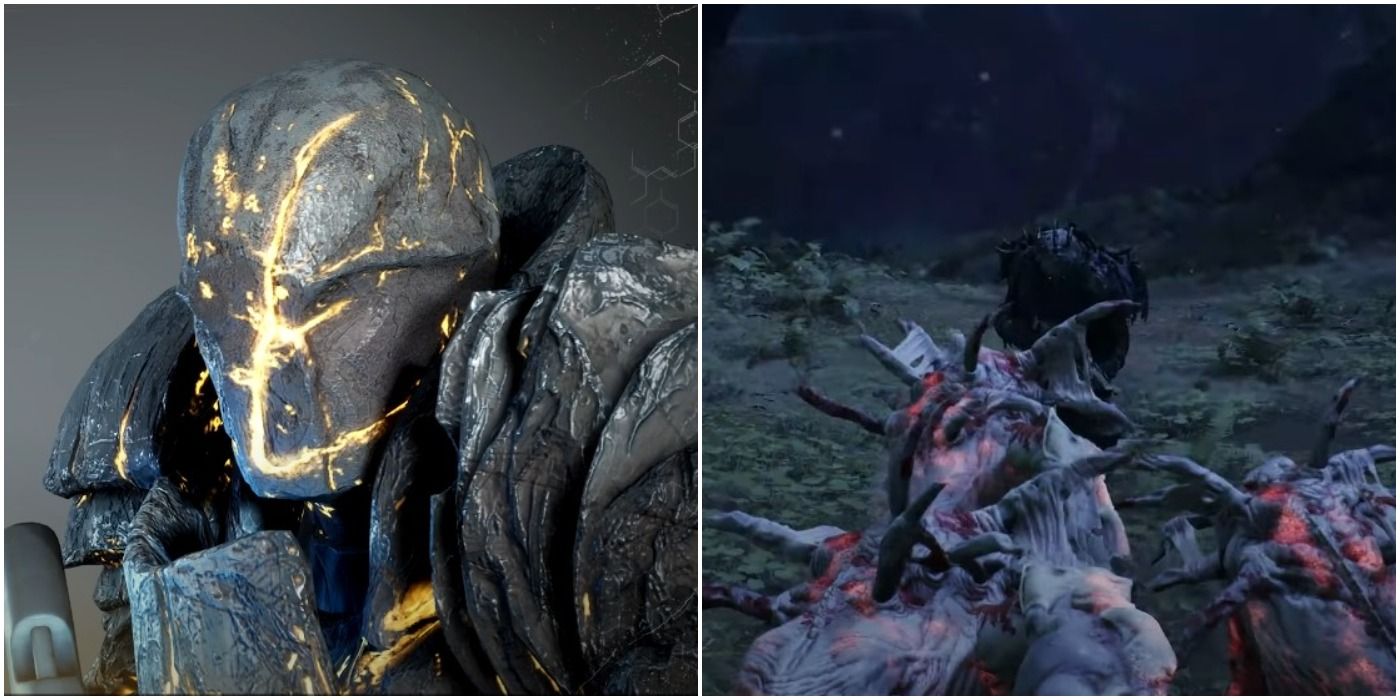
When fans are discussing close damage dealers in Outriders, most of the conversation will likely be about the Trickster. And that makes sense because even the game describes the class as a short-ranged damage dealer. The Devastator is often dismissed as a tank, somebody who gets up close and personal just to soak up damage. And they could not be more wrong due to the Vanquisher build.
The Vanquisher is a shotgun-wielding, physical damage dispensing machine. Not only does it have fantastic short-range damage, but, unlike its competition, it can survive a beating and actually thrives when being surrounded. Some classes might say their damage numbers are better, but how well do they do on higher World Tiers when their plan to stay back and avoid getting hit goes completely out of the window? This is where the Vanquisher shines the brightest and why they can carry a whole team through some of the tougher sequences in the game.
Updated on August 1st, 2021 by Hodey Johns: It's hard to think of any games that have been updated and altered more than Outriders has in the first few months. The relationship between developer and community has been rocky at best, but communication is clear and active. This guide has been updated to reflect the latest balances. It's clear that the endgame goal is based on conquering high world tiers in a party. Therefore, a section has been added regarding how to properly play the character in a group so that players can have a clear idea of how this particular role should function after putting all of the pieces together.
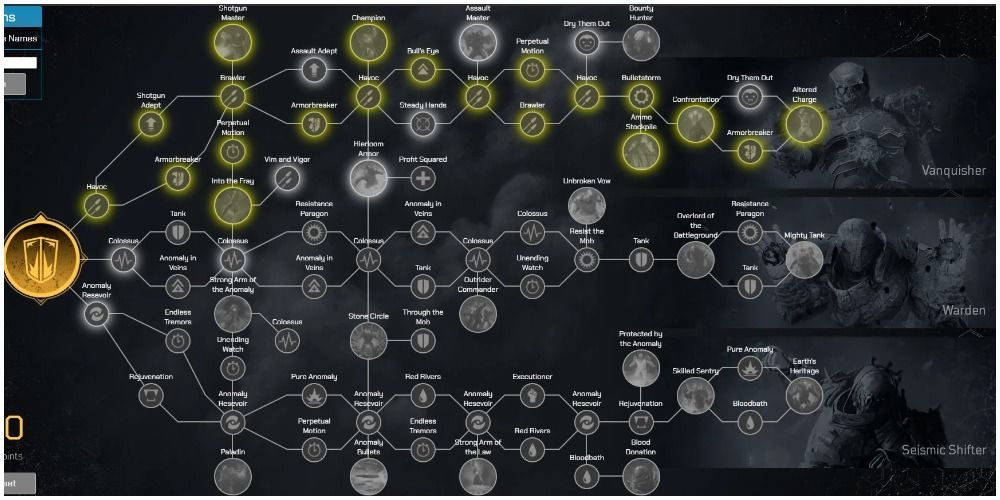
- Ammo Stockpile: 50% increased magazine size.
- Altered Charge: When a Kinetic skill ends, weapon damage is increased by 70% for ten seconds.
- Champion: Activates a Protection skill increases weapon damage by 45% for ten seconds.
The difference between this concept being considered one of the best builds in the game instead of one of the worst is all about proper node selection. Take all of the Vanquisher small nodes except for weapon Leech, recoil reduction, and assault rifle damage. This build will use shotguns for damage and heal through skills, so they won't be necessary.
Into the Fray and Altered Charge will both be kept at 100% uptime thanks to the cooldown reduction from the two Perpetual Motion nodes. This is a 70% boost to weapon damage and 15% damage mitigation at all times so long as the skills are rotated correctly. The Protection skill will add another 45% in damage. It's less consistent, but players will still be able to keep this buff up more often than not.

- Golem: Reduces incoming damage by 65% for eight seconds.
- Gravity Leap: Leap into the air and hover for a few seconds. Reactivating the skill slams to the ground, dealing damage and interrupting enemies. Can target specific enemies.
- Tremor: Releases explosions in a moderate area around the Devastator. Enemies hit by the skill drain life and siphon it to the player.
Many amateur Vanquisher builds use Boulderdash instead of Gravity Leap for their Kinetic skill, but that's a mistake. Boulderdash has a longer cooldown than Gravity Leap and is harder to control. This problem can be erased by getting the Deathproof armor set, but doing so forfeits a double damage buff from a superior armor set. Remember that the Kinetic skill only needs to be cast once every ten seconds. With the right nodes, Gravity Leap is ready every 9.8 seconds, so the Boulderdash sacrifice is unnecessary. It also heals and deals area damage.
Golem is often sacrificed for Reflect Bullets, but the latter skill must be channeled. Golem reduces damage taken significantly and can be used without interrupting the player's firing sequence.
Tremor doesn't seem to fit with the build, but it will rotate with Golem to keep a double damage buff consistently refreshed after acquiring the right armor set. Plus, the Vanquisher will get several free mods that come along with the equipment. Taking advantage of this is one reason the Devastator is so easy to solo with.
- Golem of Death: Each kill while Golem is active extends its duration by 1.5 seconds.
- Resistance: Golem increases the Vanquisher's resistance by 33% while active.
- Life Absorption: Heal for 100% of the damage done by Gravity Leap. The effect is increased to 200% when the skill kills a unit.
- Double Jump: Allows a second cast of Gravity Leap without triggering the cooldown.
- Human Comet: Increases Gravity Leap's damage.
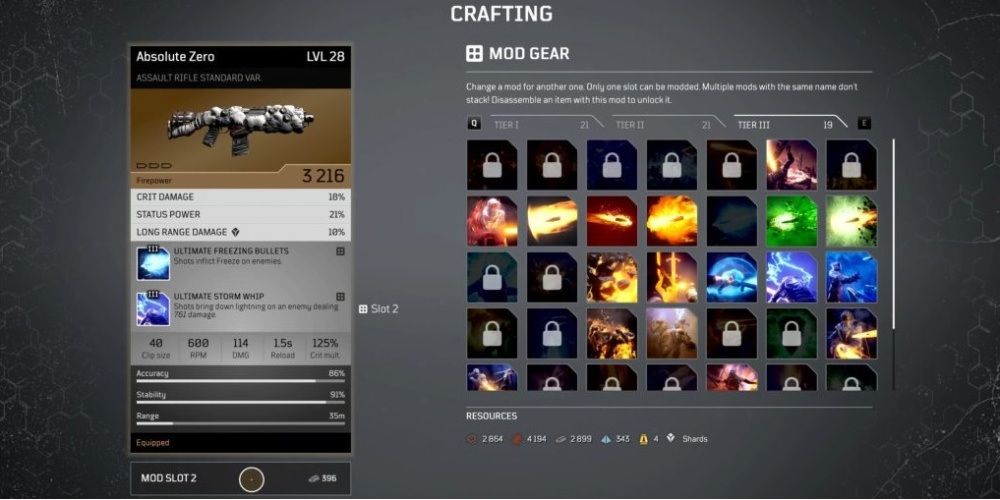
Golem of Death and Resistance might only seem like two mods for the build's most important survival skill, but consider that all of the other mods for the skills ill be given for free on the legendary armor set, so these are the only two that require going out of the way for. Both of these skills will make the Vanquisher a tougher kill.
The other three mods are for the Gravity Leap and because this skill will be going off every ten seconds or less, it's good to make the most of it. All three mods, Life Absorption, Double Jump, and Human Comet, synergize to give the Vanquisher two bursts of massive healing. Unless the skill is missed entirely, even hitting one unit with the move will likely restore all of the Devastator's health.
Also, feel free to use Gravity Jump to escape. It's not listed, but hitting no enemies with the skill actually keeps the cooldown low. The Double Jump mod also means that the next jump can be to get back into combat after a quick reload.
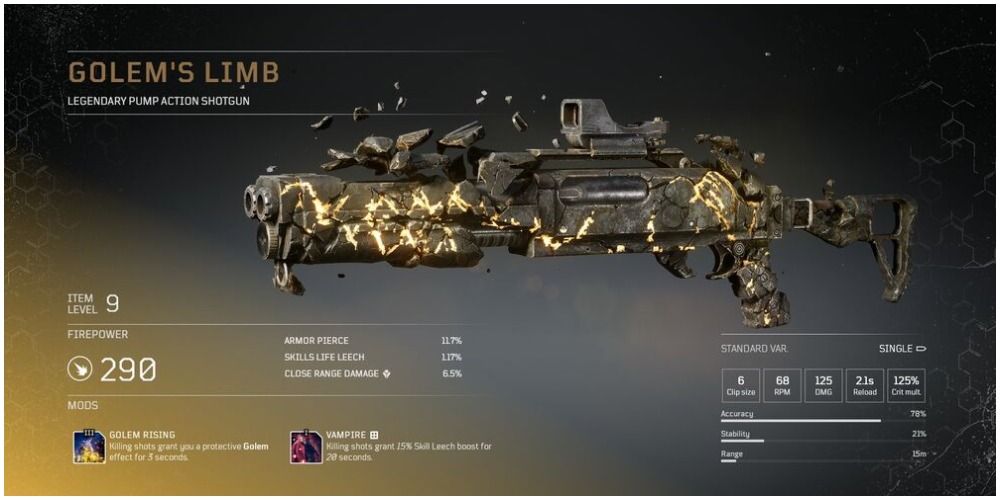
- Shotguns: Golem's Limb, Funeral Pyre
- Pistols: Torment And Agony
With so many boosts to shotguns, it's downright foolish not to use at least one. Most classes will have to have a gun with a longer range but, thanks to Gravity Leap, it's fine to carry two shotguns into battle as being out of range is never a problem for the Vanquisher. Plus, there's a veritable bounty of legendary shotguns to choose from.
The Golem's Limb has a mod called Golem's Rising that grants the Golem effect on killing blows. In solo modes, this can make the Golem effect persistently active due to the Vanquisher's improvements to the skill.
If the Golem's Limb doesn't work out, take the mod and put it in an automatic shotgun like the Funeral Pyre. The combination of the area of effect damage and the player's Golem status will devastate enemies who find themselves unable to even scratch the Devastator.
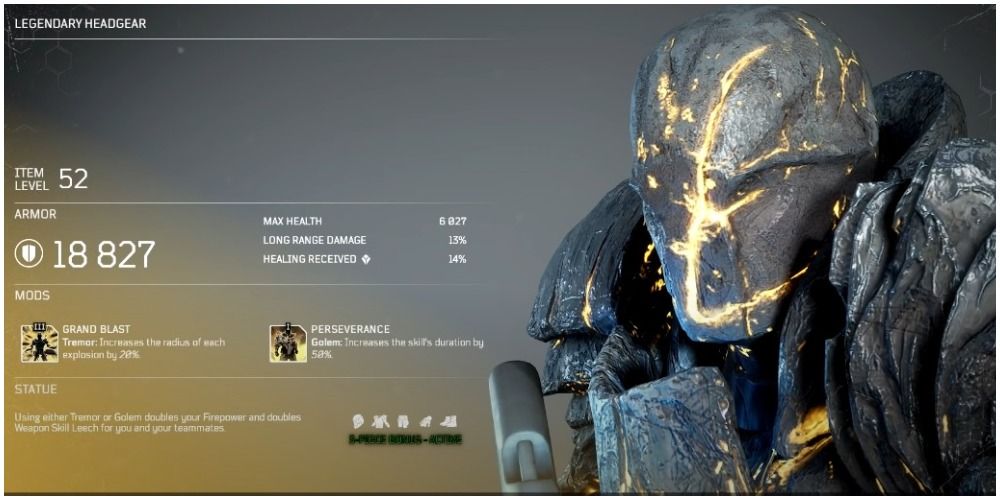
- Statue Set: Using either Tremor or Golem doubles the Devastator's firepower and weapon skill Leech for all allied units.
The weapon Leech buff on the armor set isn't useful to this build, but the doubling of the Firepower from the Statue set is an unrivaled bonus. To keep this buff up, rotate using Golem and Tremor.
Nine of the ten mods that come with the set are for Golem and Tremor. No need to change them out. This leaves players with one slot on the armor to craft with.
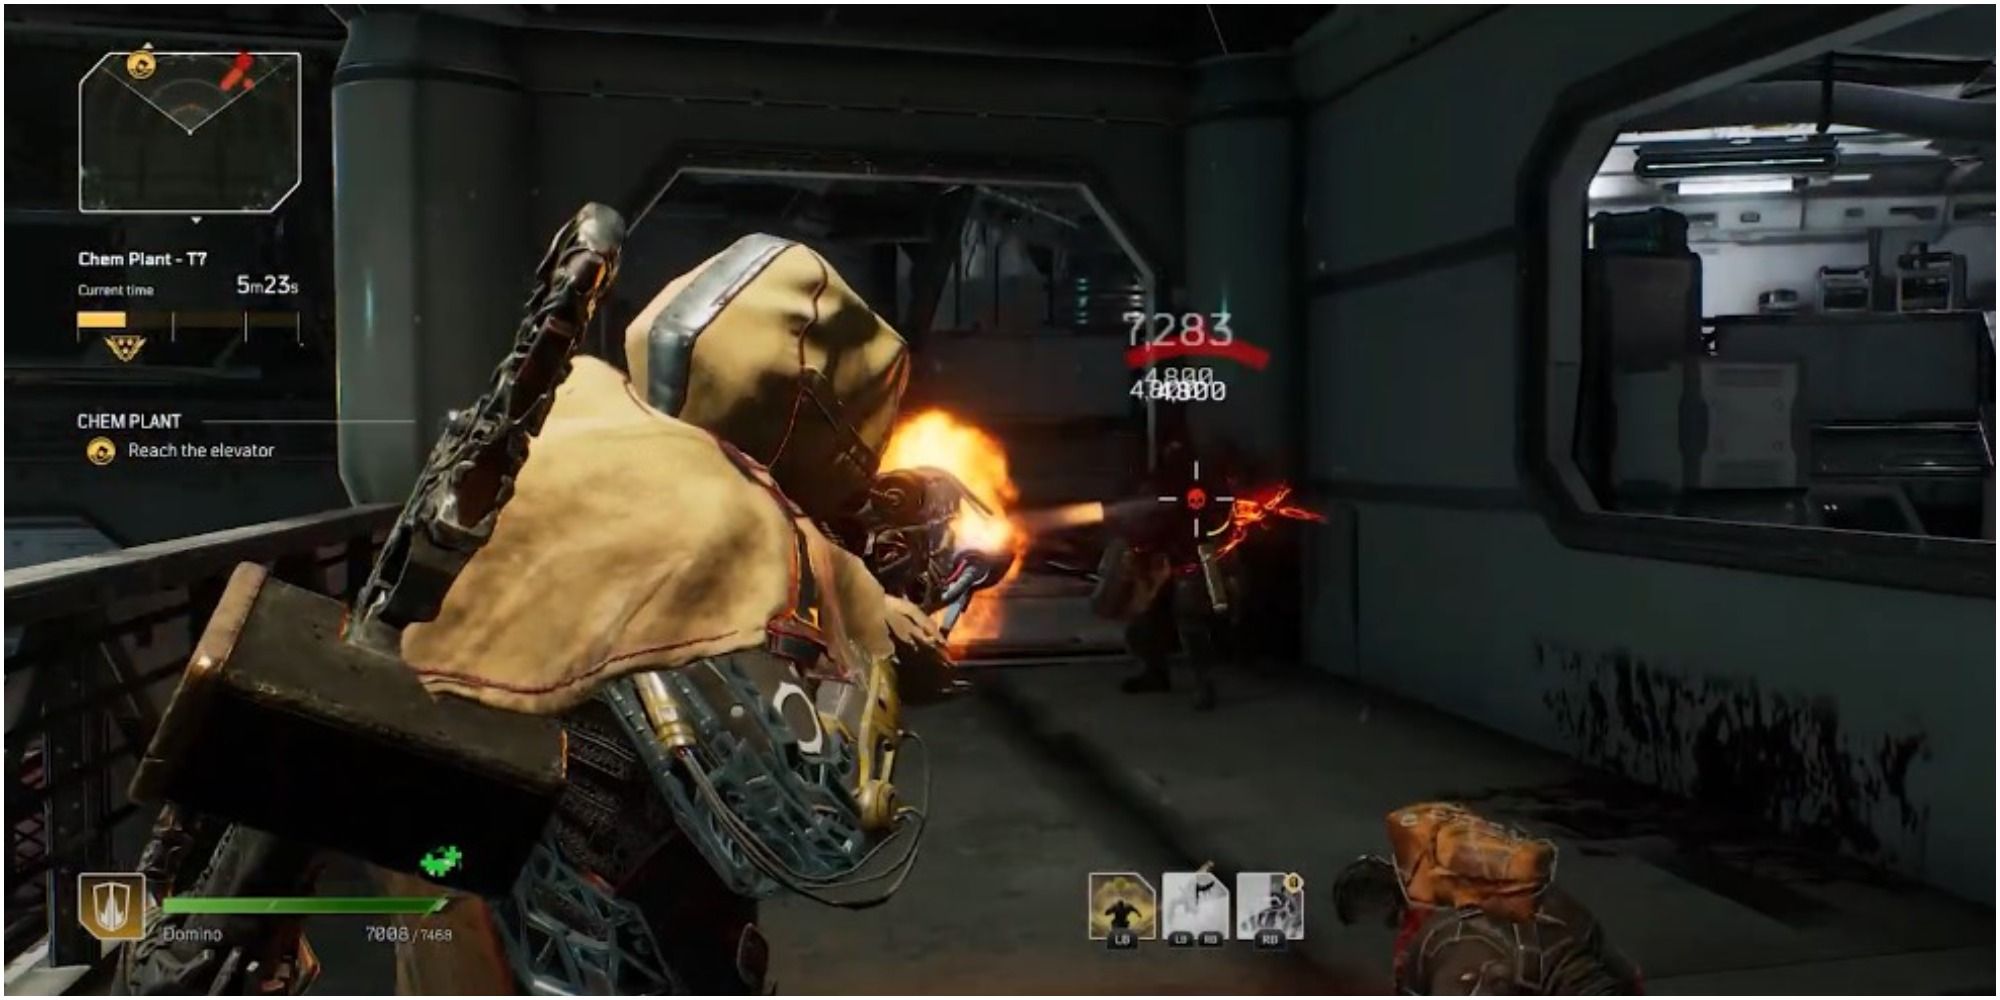
The Devastator is the only class without an official ammo-based damage build. However, it's not like the developers completely forgot about this fact. The Vanquisher utilizes the advantages these other classes have without the official title. Expert players understand that this DPS build is every bit as viable as the others that conveniently have the ammo ability built into the title. Boulderdash Vanquishers have given the build a bad name, but it's slowly becoming redeemed.
The single most important thing to do is to rotate between Golem and Tremor at least every ten seconds. The double damage from the armor is absolutely required to be a competent DPS and players who fail to rotate will fall off of the charts.
Next, be in the thick of combat whenever possible. Shotguns are better up close and it's easier to score critical hits. Golem will prevent the build from taking too much damage, so even those this build isn't purely a tank, it can feel that way.
As a final tick of the trade, use Gravity Leap to escape when overwhelmed. Sometimes players feel pressured to use this as an offensive weapon, and it is indeed useful to quickly get into the thick of combat. But this build is all about shooting bullets and so the damage portion of this move is negligible. Use it for positioning, not for damage.

Post a Comment